Canning is a great way to preserve food and extend its shelf life, but the traditional method of boiling jars can be time-consuming and tedious. Luckily, there are alternative ways to seal canning jars without boiling them.
Sealing canning jars is an essential step in preserving food and extending its shelf life. Traditionally, this involves boiling the jars to create a vacuum seal. However, not everyone has access to a stove or wants to go through the lengthy process of boiling.
Luckily, there are alternative methods to seal canning jars that don’t require boiling and can be done easily at home.
In this article, we’ll explore some of these methods and provide a step-by-step guide to help you seal your canning jars without boiling.
Clean the Canning Supplies
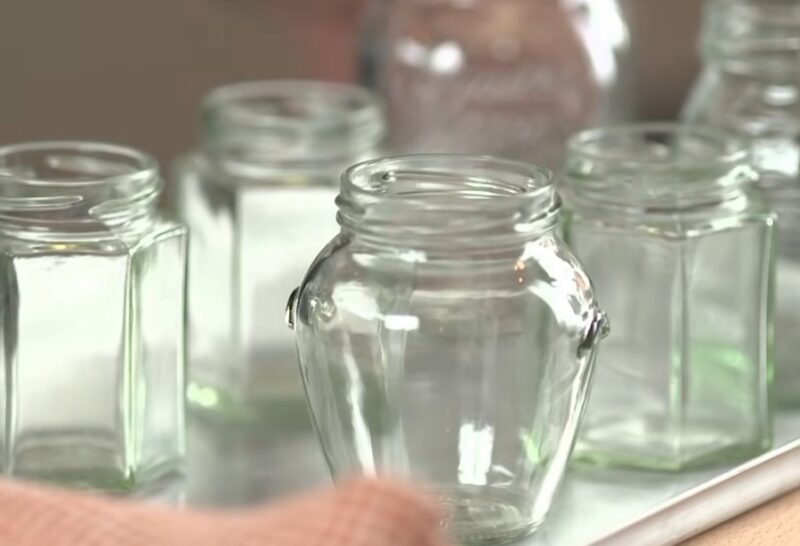
Before you start the process of sealing your canning jars without boiling, it is essential to ensure that your canning supplies are clean. Cleaning your canning supplies is an important step in canning that cannot be overlooked.
Any remaining debris or bacteria on your supplies can contaminate your food, leading to spoilage and food poisoning. You can clean your canning jars, lids, and bands with hot, soapy water and rinse them thoroughly.
Additionally, sterilize your canning jars by boiling them in water for ten minutes before using them to pack your food. By cleaning your canning supplies, you can be confident that your food is safe to eat and will have a longer shelf life.
Inspect the Rings
After cleaning the jars and lids, it’s time to inspect the rings. Make sure they are free of rust or damage. If you see any signs of rust, discard the rings and use new ones.
It’s important to use new rings to ensure the seal is tight and the contents of your jars stay fresh. Even a small amount of rust or damage can compromise the seal and cause spoilage.
If the rings are in good condition, wipe them down with a clean cloth and set them aside until you’re ready to use them.
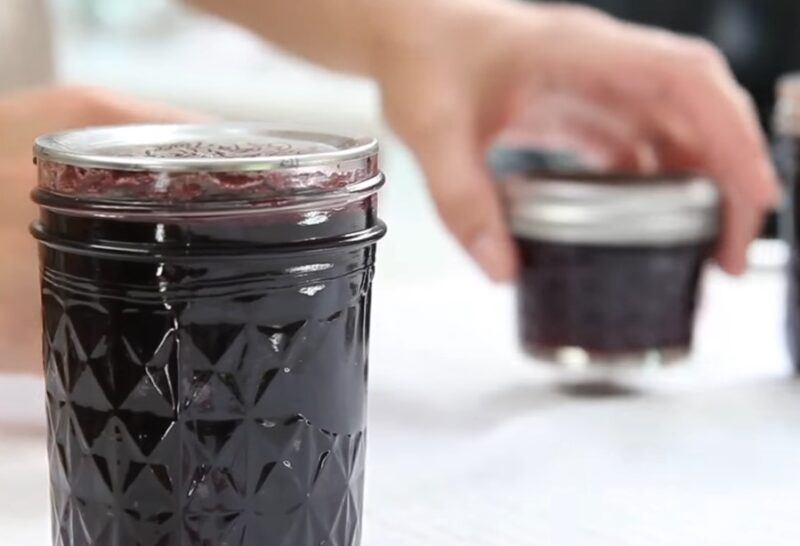
Fill the Jars
Before sealing your canning jars, you need to fill them with your desired recipe. Depending on what you’re making, you may need to precook or prepare the ingredients before filling the jars.
Make sure to leave the appropriate headspace as indicated in your recipe, usually around ¼ inch to ½ inch. Once you’ve filled the jars, wipe the rims with a clean, damp cloth to remove any spills or drips.
Place Jars In Canner
Placing the jars in the canner is a crucial step in the canning process, as it determines whether or not the food inside the jars will be properly preserved. To begin, make sure the canner is filled with hot water up to the level specified in the recipe or manufacturer’s instructions. Preheat the water to at least 180°F (82°C) before placing the jars inside.
When placing the jars into the canner, use a jar lifter or tongs to avoid touching the hot jars directly. It’s important to keep the jars vertical and spaced apart from each other to ensure even processing and proper circulation of water.
Once all the jars are in the canner, make sure the water level is at least 1 inch (2.5 cm) above the top of the jars. If necessary, add more hot water. Cover the canner with the lid and bring the water to a rolling boil.
The processing time for the jars will depend on the type of food being canned and the altitude of your location. Consult your recipe or the USDA guidelines for recommended processing times. Maintain a steady boil throughout the processing time, adjusting the heat as needed.
Remove Boiled Jars
Once the processing time is complete, it’s time to remove the jars from the canner. Turn off the heat and use a jar lifter to carefully remove the jars from the canner. Place them on a towel or cooling rack to cool for 12 to 24 hours.
It’s important to resist the urge to touch or move the jars while they cool. Moving them while still hot can cause the seal to break, which means the contents will not be properly preserved. Allow the jars to cool completely before checking the seals.
Once the jars are cool, you can check the seals by pressing down on the center of the lid. If the lid does not flex or move, the seal is good. If the lid pops up and down, or if you can push it down easily, the seal has failed and the contents should be refrigerated and used within a few days.
Sealing with a Water Bath
Sealing your canning jar doesn’t require boiling them, as long as you use a water bath. The hot water will create a seal that is just as effective as boiling the jars. Fill a pot with enough water to cover your jars by an inch or two. Bring the water to a boil, then carefully lower the jar into the pot using a jar lifter. Leave the pots in hot water for 10 minutes. Remove them from the water bath and let them cool on a towel.
Sealing with a Vacuum Pack
Sealing with a vacuum pack is a popular method for canning food, as it allows for a longer shelf life and maintains the freshness of the contents. To seal canning jars with a vacuum pack, you will need a vacuum sealer and a vacuum sealing attachment for the jars.
After filling the jar with the desired contents, place the sealing attachment on top of the jar and attach the vacuum sealer to the attachment. Start the vacuum sealing process, and the air will be removed from the jar, creating a vacuum seal. The jar lid will be tightly sealed onto the jar, and the contents will remain fresh for a longer period.
One of the benefits of vacuum sealing is that it removes any excess air from the jar, which can cause spoilage and bacteria growth. It is also a great option for storing items that are not frequently used, as the vacuum-sealed jars can be stored in a pantry or cabinet without the need for refrigeration.
Sealing with Wax
Sealing canning jars with wax is a traditional method that has been used for centuries. It is particularly popular for preserving jams and jellies. The process involves melting wax and pouring it over the top of the preserves, creating a seal that prevents air and bacteria from entering the jar.
To seal a canning jar with wax, first fill the jar with the desired preserves, leaving some headspace at the top. Melt paraffin wax in a double boiler or a saucepan set over low heat, stirring occasionally.
Once the wax has melted, carefully pour it over the preserves, leaving about 1/4 inch of space at the top of the jar. Use a spoon to remove any air bubbles, and then add more wax if necessary to cover the entire surface.
Allow the wax to cool and harden completely before handling the jars. Once the wax has hardened, trim any excess wax around the edges of the jar with a knife.
Preparing the Jars
Sealing the canning jar does not require boiling the jars. Sealing the pots at too high of a temperature can cause them to break. The key is to use a hot water bath to heat the jar before you put the lids on.
Fill a large pot with enough water to cover the pot that you will be sealing. Place the jars in the pot and turn up the heat until the water begins to boil.
Allow the water to boil for 10 minutes before removing the jars.
Meanwhile, place the lids in a small saucepan and turn up the heat until boiling. Allow them to boil for 5 minutes before removing them from the heat.
Remove the jars from the boiling water and place them on a towel or cooling rack. Place a lid on each jar and screw on the ring until tight.
Creating the Magic
There is a lot of magic that happens in the kitchen, especially when canning. Sealing the jar without boiling them is one of the steps that can make your magical creations stand out. There are a few ways to do this, but my favorite is using a food sealer.
If you don’t have a food sealer, you can use a wet paper towel to wipe the top of the jar and then put the lid on top. Make sure it’s on tight and then screw on the ring. You can also use a rubber band to hold the lid on top while you’re screwing on the ring.
Another way to seal your jars without boiling them is to use an oven or a microwave. For the oven method, set your oven to 175 degrees Fahrenheit and place your sealed pot inside for about 10 minutes.
Cooking Out the Bad Stuff
It’s very effective to seal canning jars without boiling them to keep bad things out. You don’t have to boil water on the stove to heat your kitchen, and you don’t have to worry about an open flame when there are hot jars nearby. All you require are basic supplies and a clean kitchen.
Wash your hands first, then check that the workspace is tidy. Use boiling water or the dishwasher to sanitize your jars and lids. Food should be added to the pot, leaving a headspace of 1/4 inch. The jar rims can be cleaned using a wet paper towel. Make sure the lids are centered before adding them to the top.
Use a magnetic lid lifter to remove the lids from hot water. Place them on top of the jars, and screw on the rings until they are tight.
Testing the Seals
The seals on canning jars can be tested in a few different ways. One method is to apply pressure to the lid’s center. The seal is sound if the lid stays put. Run your finger along the lid’s edge as another approach to check the seal. The seal is useful if you feel a ridge. Shaking the jar lightly is a third approach to check the seal. If there is no internal movement, the jar is properly sealed.
The Upside Down Method
One approach to seal canning pots without boiling is to turn them upside down. A jar lifter, a canning funnel, and a ring band are required for this. Fill your jar with the food that will be canned first. After that, insert the funnel into the jar’s top and tip it onto its side with the help of the lifter.
Make sure the funnel is tightly seated against the meal. Turn the jar upside down and use the ring band to fasten the lid to the top. As the food cools, the weight of the contents will hold the lid in place. Remove the ring band after it has cooled, then store your meal in a cold, dry area.
Wax as a Sealant
You must seal the jars after you have completed preserving the fruits, vegetables, or meats. By capping the jars, you can keep bacteria from multiplying and spoiling your food. To do this, use wax as a sealer.
Once the pot is sealed, you do not need to boil it. Any bacteria that may be present will be eliminated by the heat generated during the sealing process. You can also place the sealed jars in a hot water bath for ten minutes if you are concerned about bacteria.